Gridfinity: a Cure or a Drug for OCD?
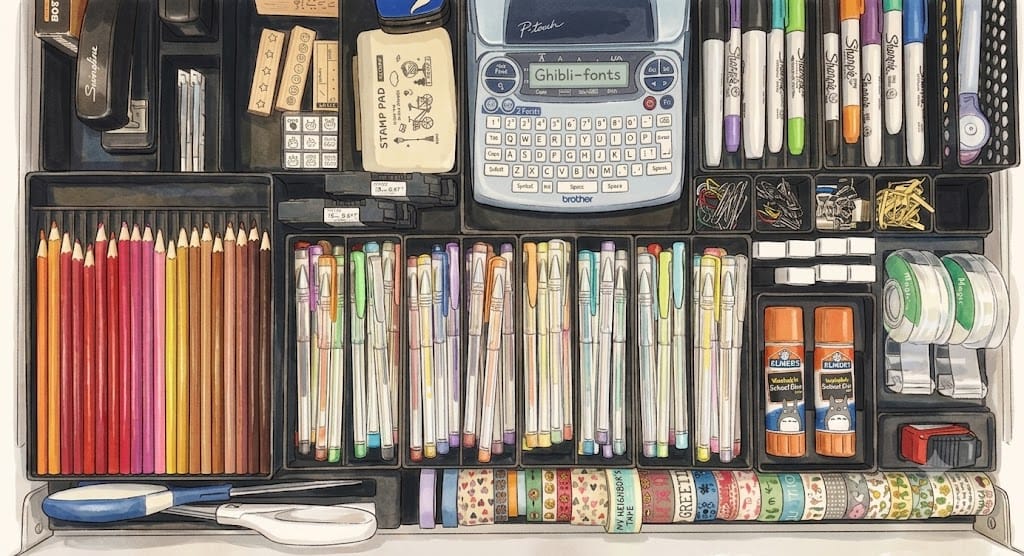
My OCD is quite mild. But even then, I was completely sold on Gridfinity the very first time I came across it. For those unfamiliar, Gridfinity is an open-source storage organization system that anyone can 3D print for free. Bins of various sizes fit modularly onto a standardized grid matrix designed by Zack Freedman. Thanks to a massive backing from the 3D printing community, you can easily find free 3D models for all kinds of bins, giving virtually every item in your house a dedicated home.
Passion Brings Practice
The burning desire to organize my drawers and store every item neatly provided the exact practice I needed to get comfortable with 3D printing. While 3D printing isn’t exactly rocket science, there is a learning curve full of little settings you have to tweak. I’ve certainly had my fair share of beginner mistakes—printing plastic spaghetti, breaking structural supports, etc.
Fortunately, there's a solution online for pretty much every issue you encounter. Looking back, if I didn't have a clear project goal like Gridfinity anchoring me during this phase, I probably wouldn’t have press on as diligently. Having too much time pass between prints may mean that the learning won’t truly take root or gain traction.
Helpful Resources I Found
There is a mountain of 3D printing content on YouTube, so I won't rehash the basics with my own tutorials. Instead, here are a few specific resources that got me started and helped me troubleshoot:
- Eric Welander: He has an excellent video walking through the basic steps of printing a Gridfinity baseplate to size. Following his process made it incredibly straightforward to replicate on my own machine.
- Bambu Lab Maintenance Guides: Bambu Lab has a great set of videos outlining regular printer upkeep (mostly cleaning and lubricating). I used to do this after every 100 hours of printing, but I've eased up a bit now to a simple once-a-month schedule.
- Model Rotation in Bambu Studio: Learning how to re-orient a 3D model in the slicer software is a game-changer. Sometimes a quick rotation makes the final product significantly stronger or drastically reduces the amount of support material needed.
Key Results
So far, several drawers in our house have received a complete makeover. They not only look great, but quite functional too. My kids know where things go, and they themselves would put things back. They love these drawers as much as I do!
Arts & Crafts Drawer
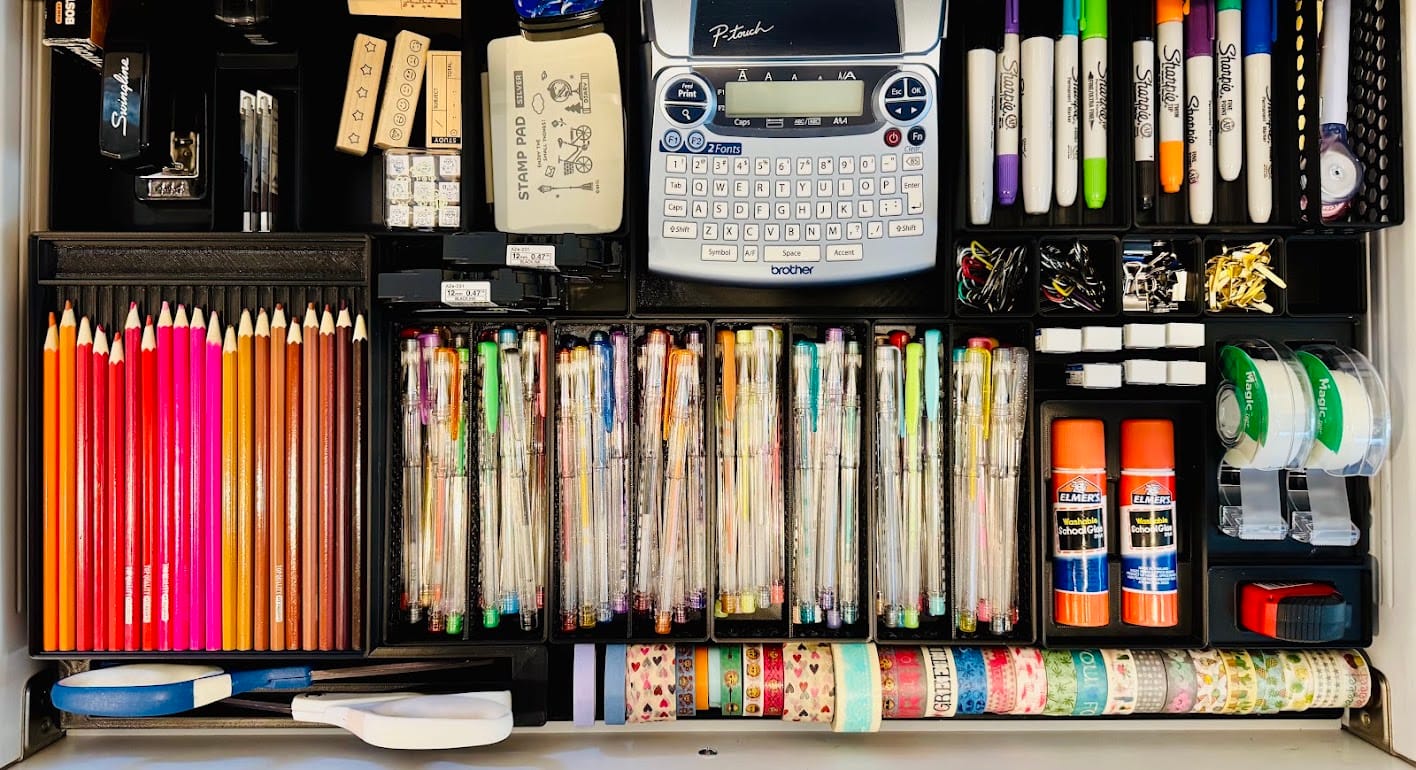
This is the raw picture that I transformed into the stylized feature image at the top of this post. A few things worth noting here:
- Stackable Pencil Trays: The colored pencil bins are fully stackable. I printed four of them so my kids can grab the whole stack and bring it right to their desks when they want to color.
- Washi Tape Holder: The custom rolling holder at the bottom is beautifully simple yet wildly effective.
- The Dopamine Hit: Finding the exact custom container layouts for our Scotch tape dispensers, glue sticks, scissors, and erasers was pure bliss. When a bin gives you a near-perfect fit, that feeling is unmatched!
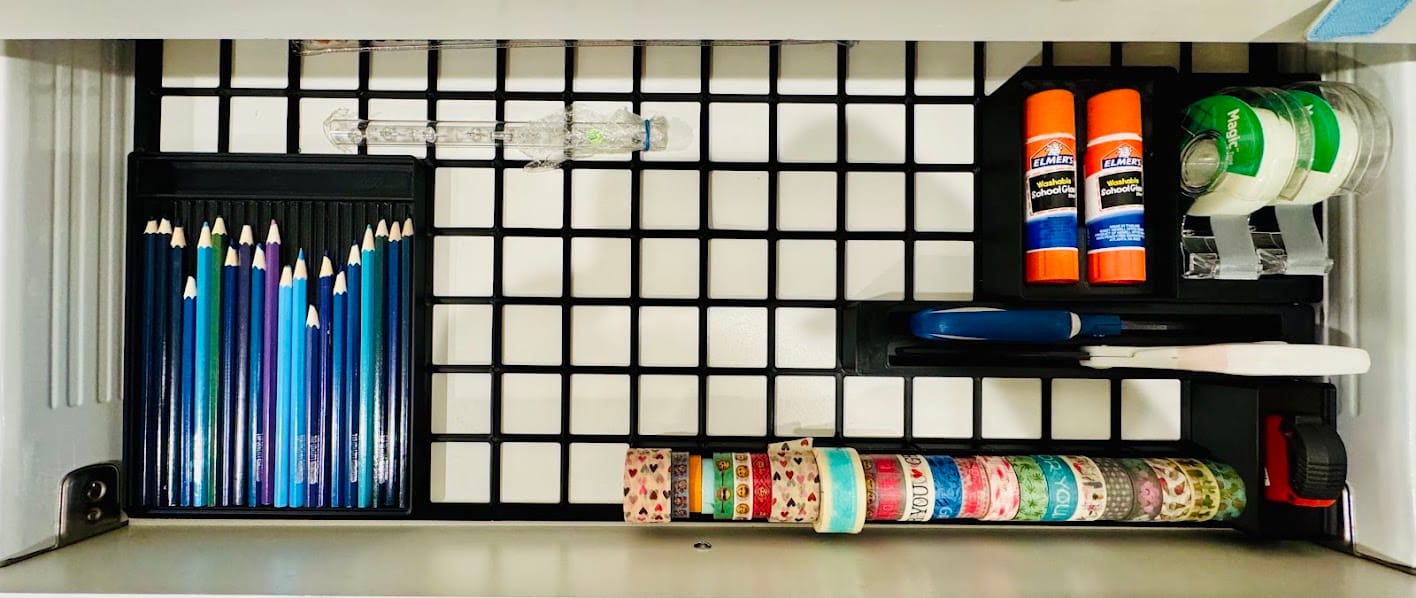
Here’s an in-progress view:
Utility Room – Battery Drawer
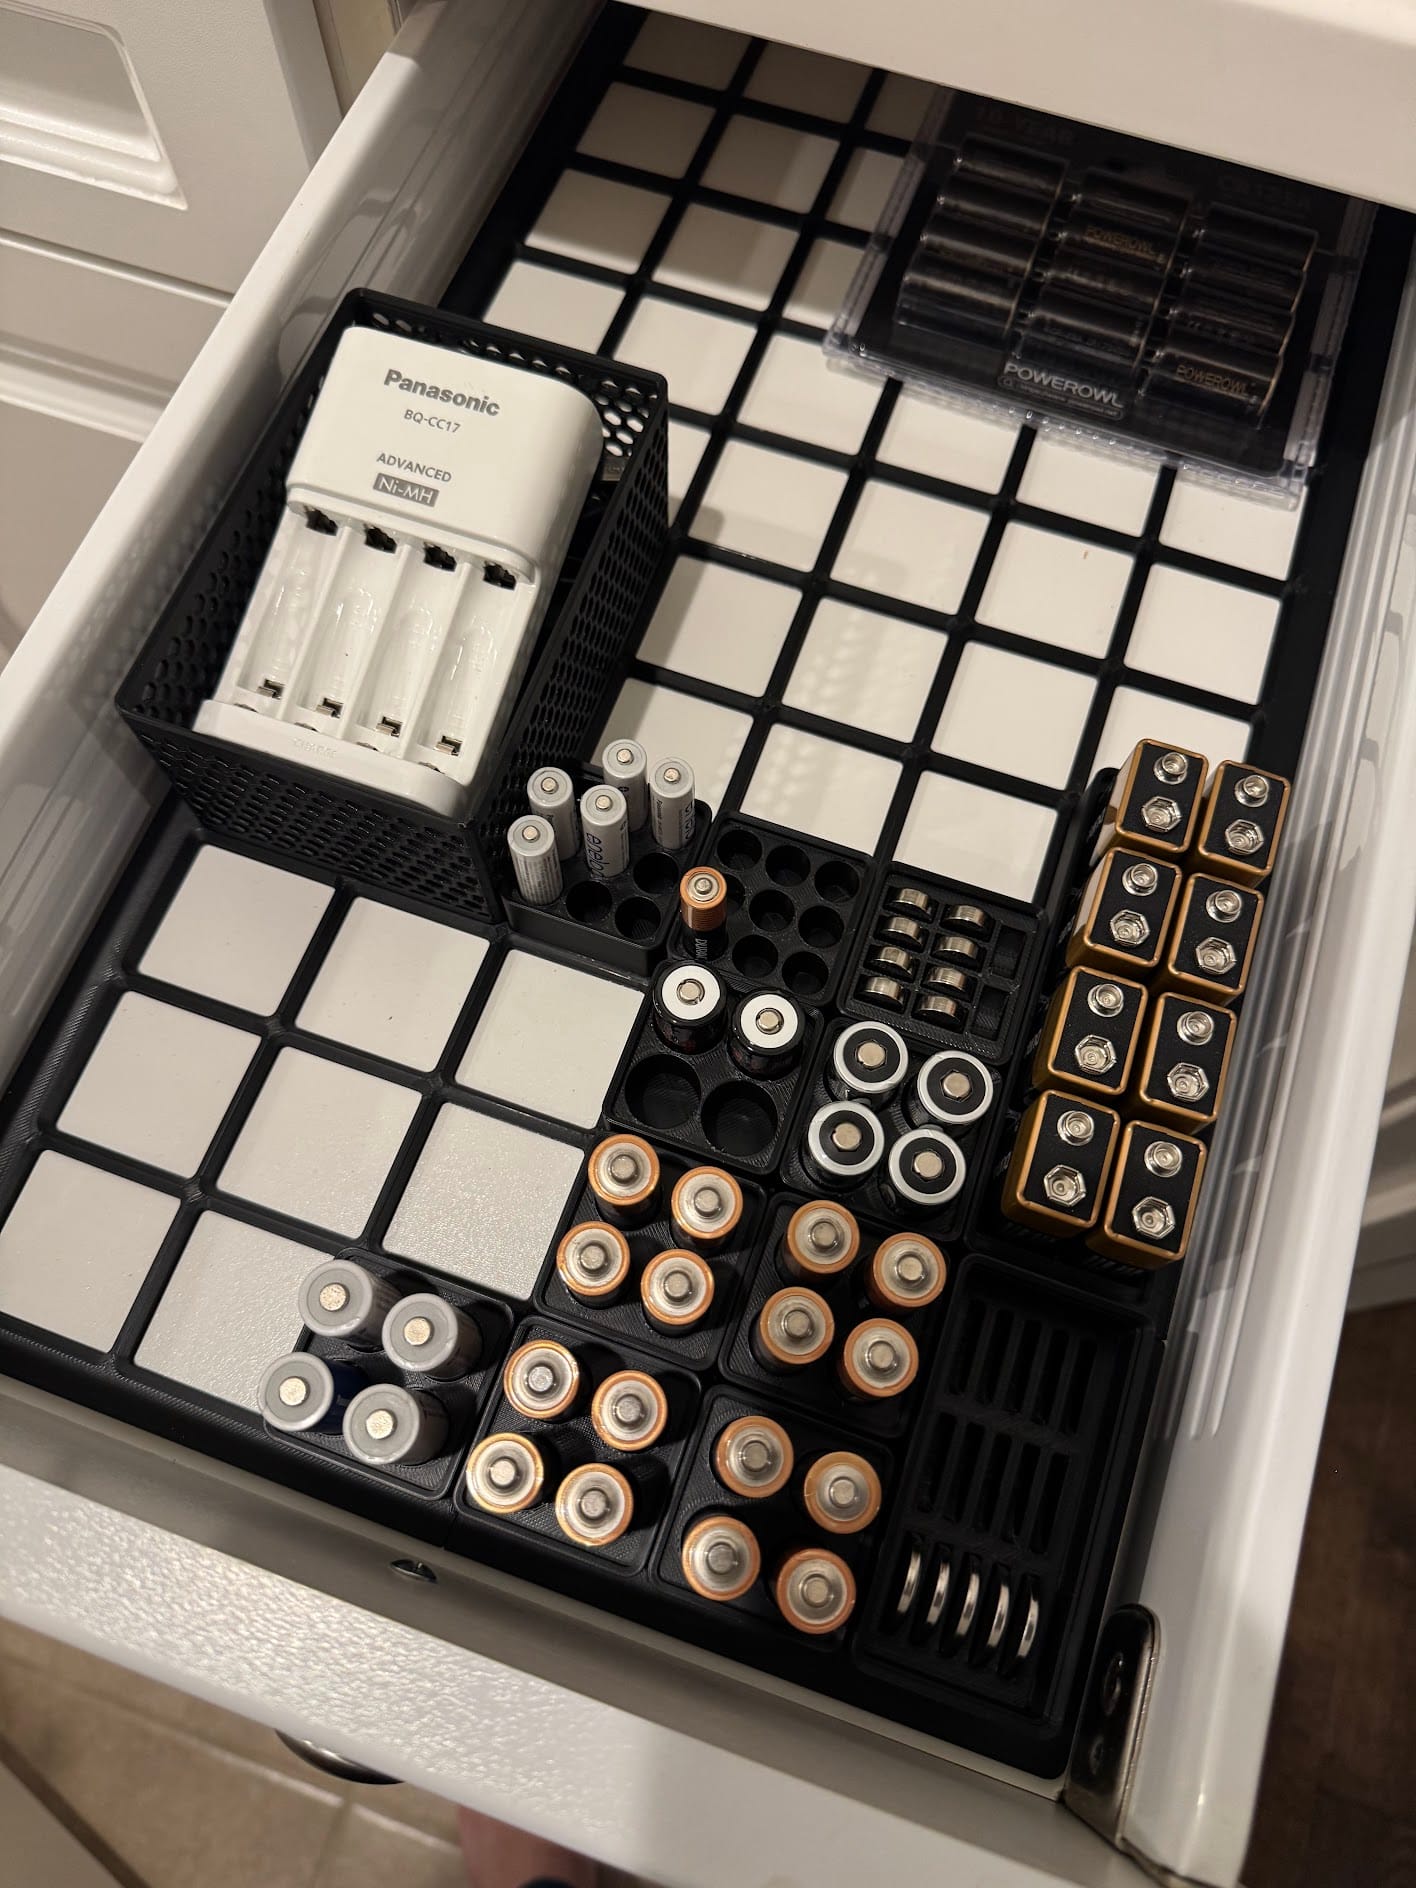
The community has designed a ton of battery storage options for Gridfinity. Here is the drawer I printed to house my stash. You can find slots for almost any size imaginable, even obscure types like the A123 cells.
Kitchen
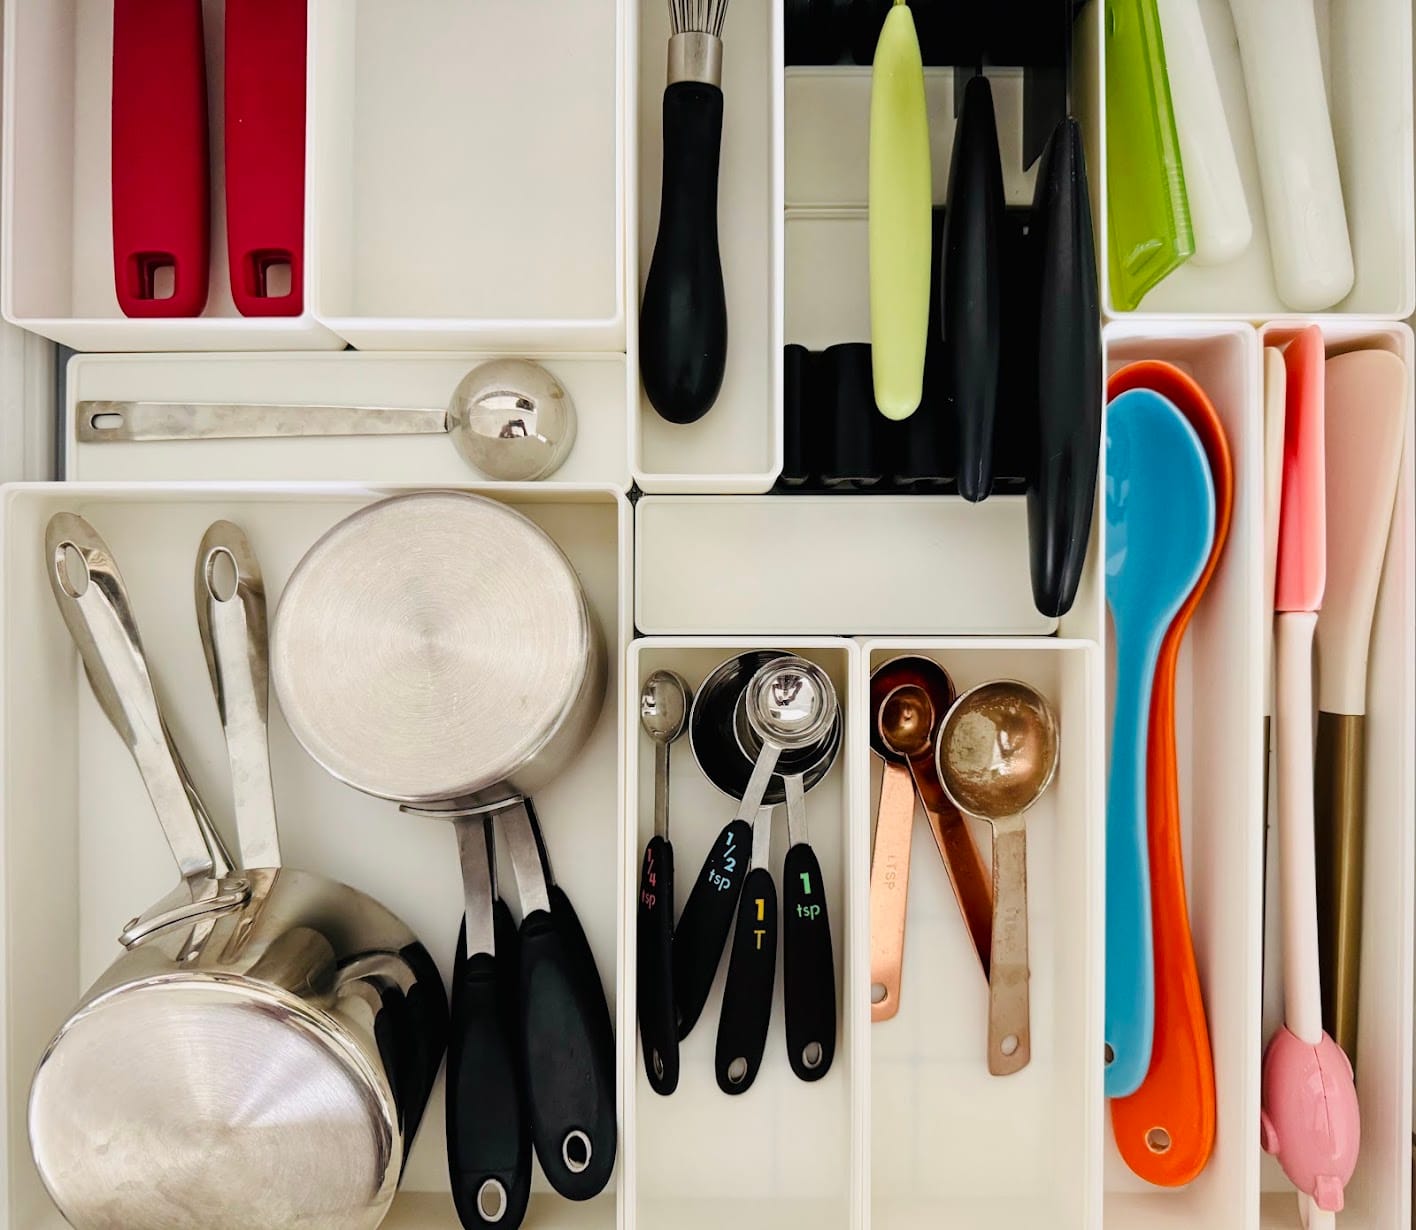
I've also started organizing our kitchen drawers, which brings up a common debate in the maker world: Is 3D-printed filament truly food-safe? I haven't found a definitive answer online yet. Obviously, I wouldn't 3D print a spoon to eat hot soup with, but using these bins to neatly separate utensils seems acceptable for now. One option I plan to explore in the future is coating the kitchen bins in a food-safe epoxy resin. We shall see!
Teabags
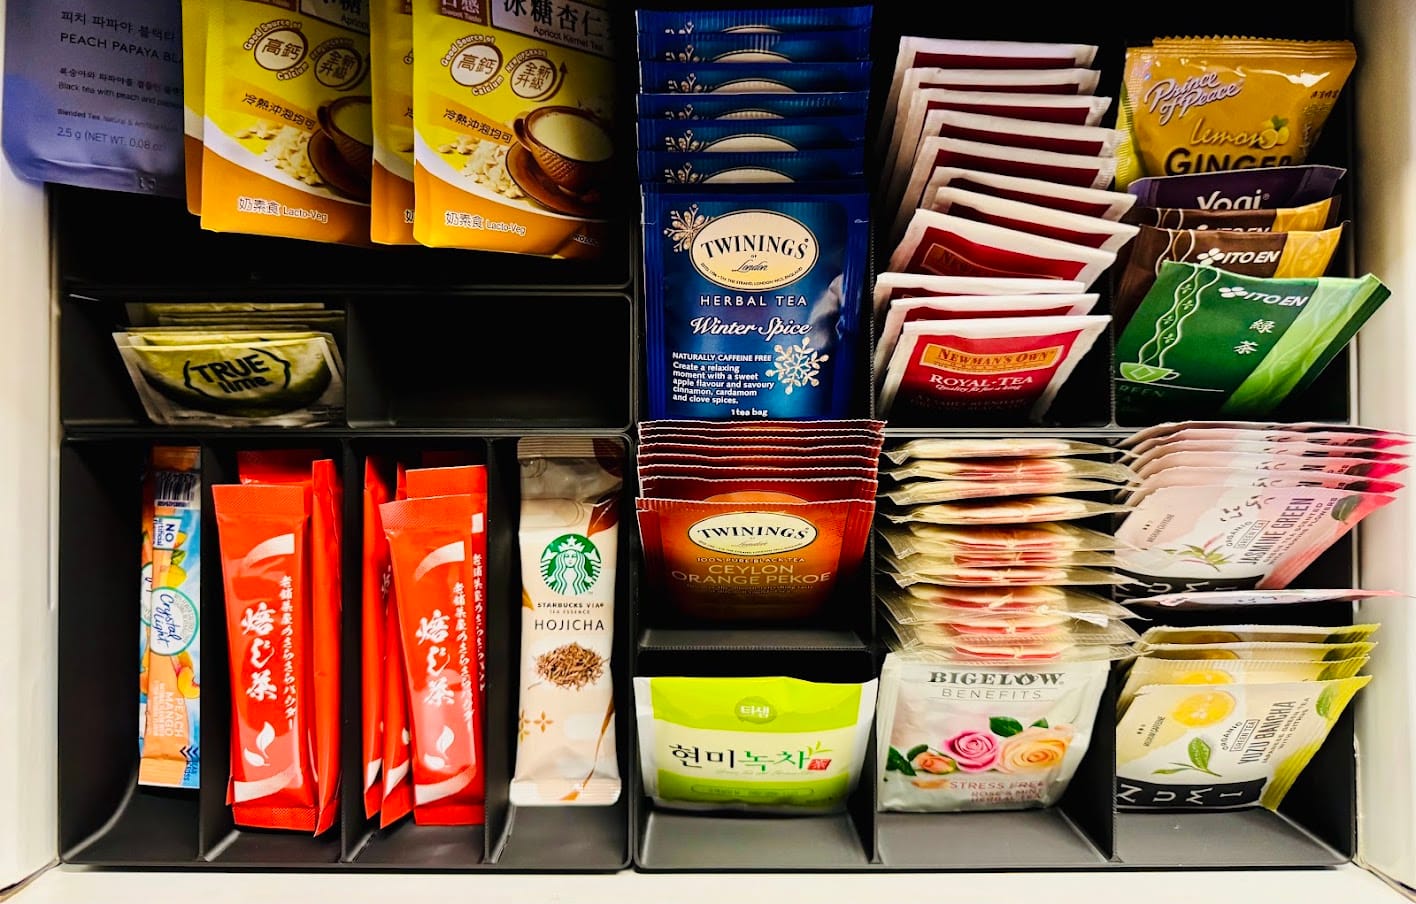
A much safer kitchen project was our tea bag drawer! This layout took only half a day to print.
Garage
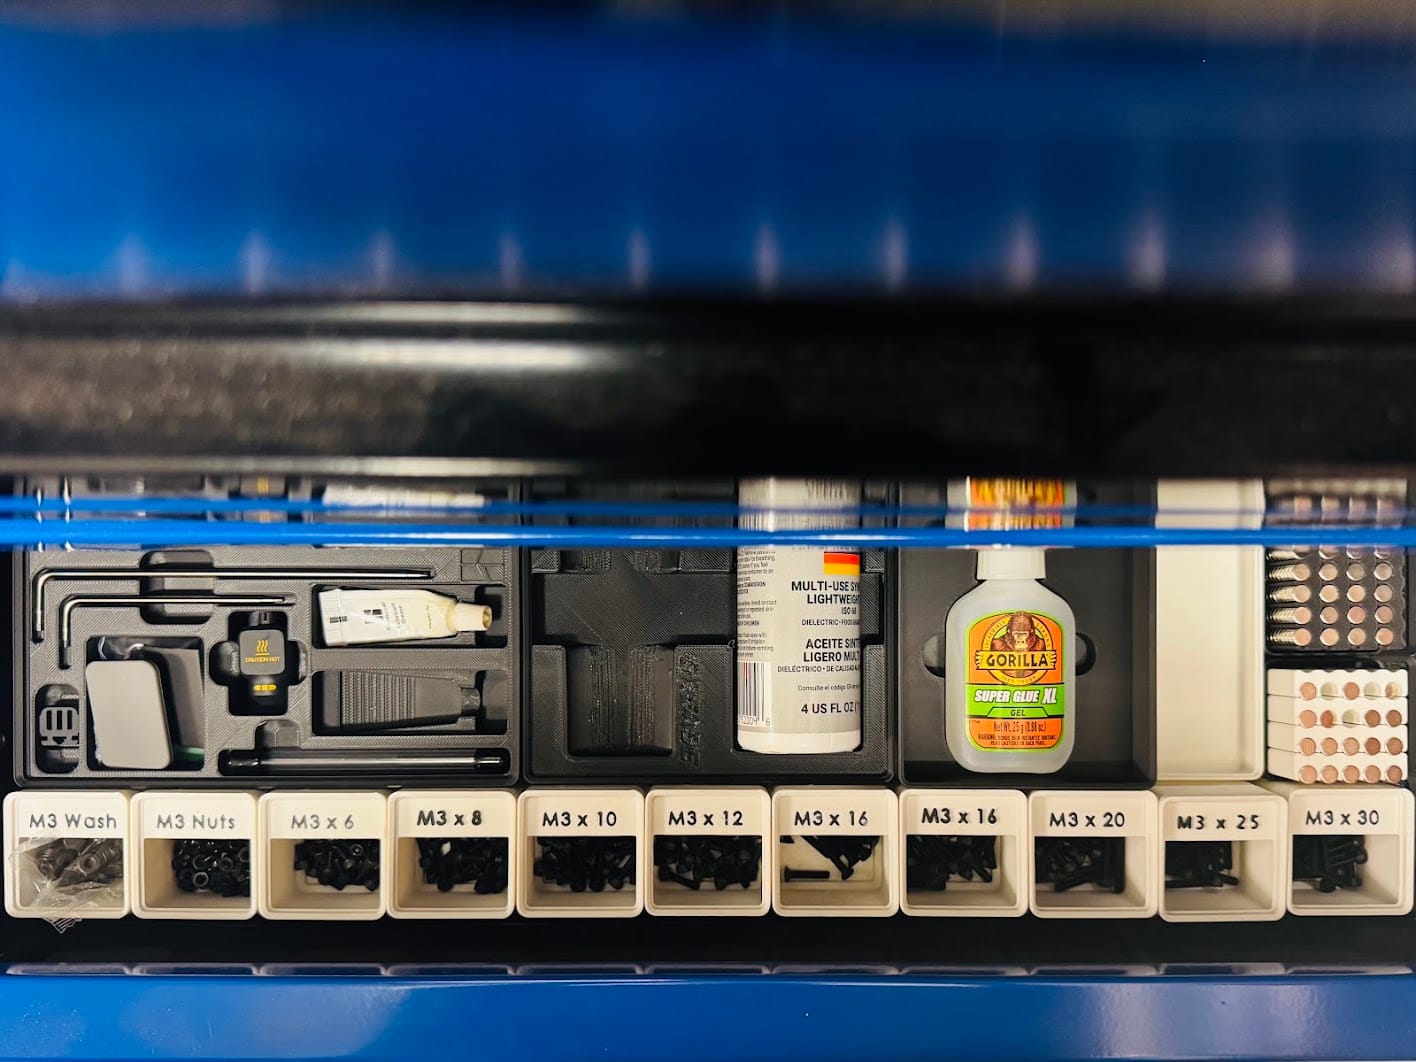
Naturally, a 3D printing hobby requires its own collection of tools, spare parts, and accessories. Here is the custom drawer housing them.
Where to from Here?
As i try to get through to the rest of the drawers in my home, I’ve found an opportunity to level up.
I am hooked on bins that are custom-molded to fit a specific tool perfectly—like a layout that matches the exact physical contours of a digital caliper. In the community, these are often called shadow bins or custom bins.
I have a good number of items left to store, and I'm no longer satisfied with just dropping them into generic rectangular bins. Learning true 3D modeling feels like the natural next step. Designing and modeling my very first custom shadow bin from scratch would be a milestone!
My next post will share my journey diving into the world of 3D modeling.